
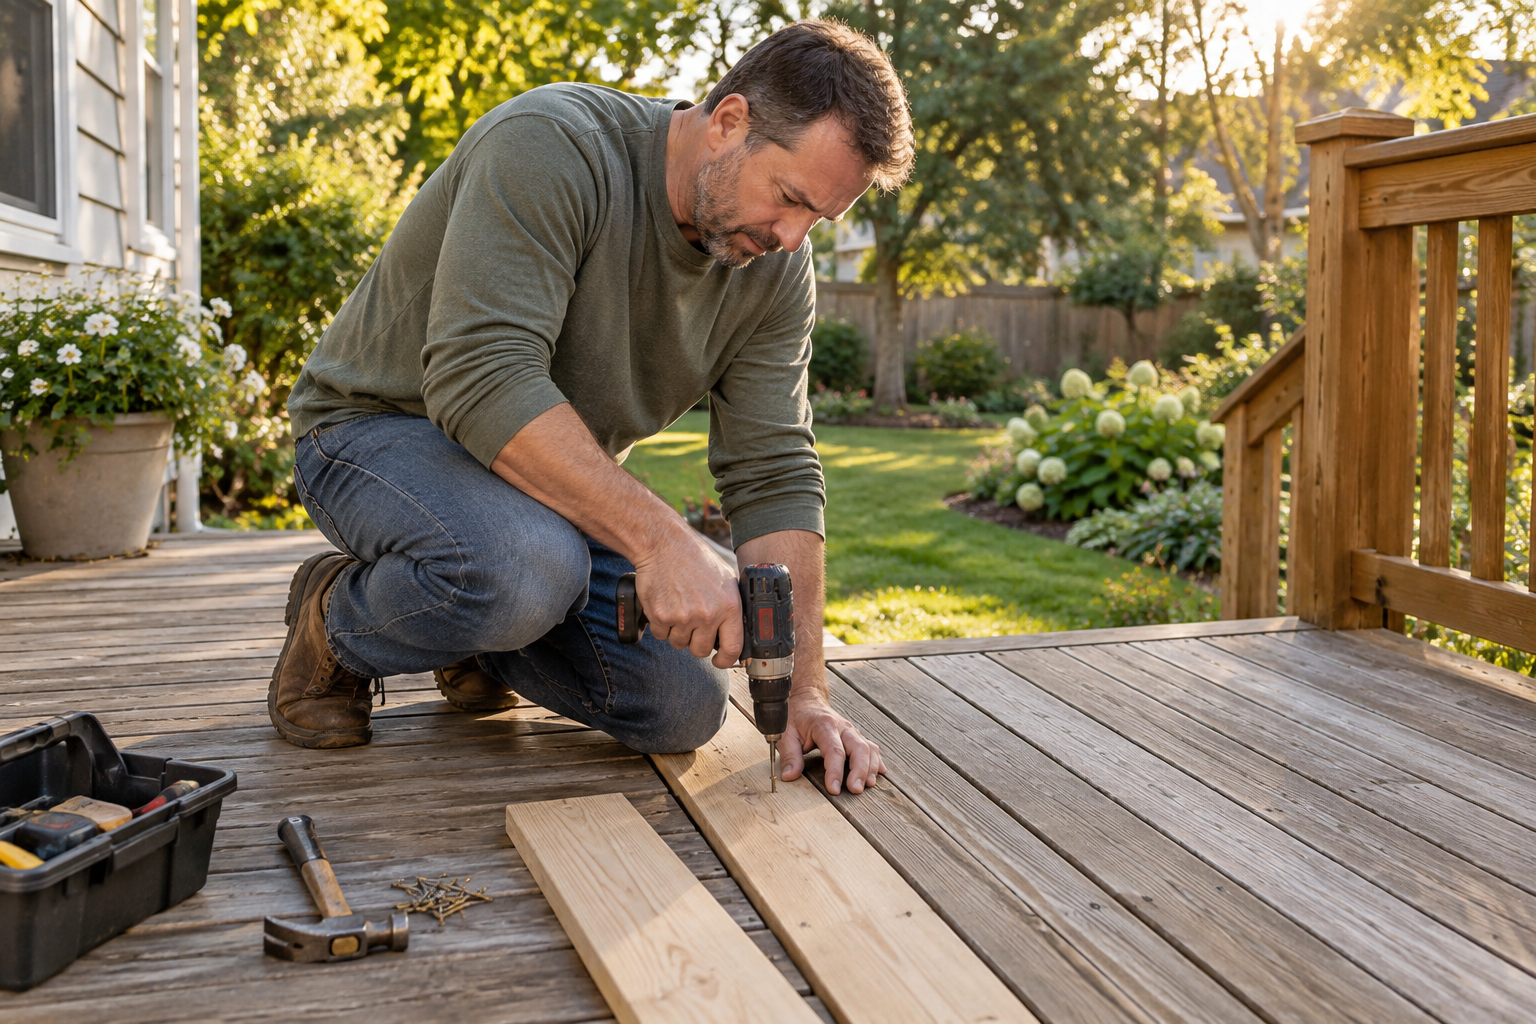
A damaged deck board rarely improves by itself. A split end may stay small for a season, but repeated wetting, drying, and foot traffic can widen the crack and leave a soft area that is harder to repair. The good news is that a single bad board is often manageable when the surrounding framing is still solid. The repair is mainly a matter of careful inspection, accurate measuring, and keeping water from getting trapped in the new work.
Decide whether the board can be repaired
Walk the deck slowly and look for soft spots, raised fasteners, deep cracks, and areas that hold water after rain. Press a screwdriver gently into suspicious wood. Sound decking should resist light pressure. If the tool sinks easily, the board may have rot that extends farther than the visible damage.
Check the joists below the problem area as well. A new board will not solve a joist that is decayed, split, or chronically wet. Look for dark staining, loose metal connectors, and soil or leaves packed against the framing. If the damage involves the ledger, railing posts, stairs, or several adjacent boards, get a qualified deck professional to assess the structure before doing cosmetic work.
Remove the damaged section carefully
For one severely damaged board, remove the whole board rather than patching a weak center. Identify the fastener type first. Screws can usually be backed out, while old nails may require lifting the board with a pry bar after cutting the exposed heads. Protect neighboring boards with a thin piece of scrap wood under the pry bar.
Wear eye protection while cutting or lifting decking. Old boards can release sharp splinters, hidden nails, and grit. If a screw head is stripped, do not keep forcing a bit that is slipping. A screw extractor or a controlled cut through the board is safer than damaging the adjacent boards or losing control of the tool.
Measure the replacement board
Use the removed board as a reference, but measure the opening and the joist spacing too. Deck boards can swell slightly in damp weather, so leave the same small drainage gap used by the existing deck. Do not force a wet replacement board tightly into the opening. A gap that allows rainwater and debris to pass is part of the deck’s weather protection.
Choose lumber that matches the existing board in thickness, width, and outdoor rating. A pressure-treated board should be labeled for exterior ground-contact or above-ground use as appropriate for its position. Let a fresh board acclimate in a dry, shaded place for a short period, supported off the ground with spacers. Avoid sealing visibly wet wood before it has a chance to dry.
Prepare the cut ends
Make square cuts with a sharp blade and support the board so the final fibers do not tear away. Test-fit the piece before applying any finish. It should sit flush with neighboring boards without rocking. If the ends land between joists, add proper blocking below so both ends have solid support. Never rely on the neighboring boards to hold a replacement piece in place.
Brush an appropriate end-grain preservative or the treatment recommended for the lumber, especially on freshly cut ends. End grain absorbs water quickly. This small step helps slow future moisture entry and is easy to overlook when the new board looks clean and dry.
Fasten without trapping water
Use exterior-rated fasteners sized for the board and the framing. Drive them straight and set the heads just below the surface without crushing the wood fibers. Overdriving creates a small cup where water can collect. If the board tends to split near an end, drill pilot holes sized for the fastener and keep the hole centered.
Before fastening, confirm that the replacement follows the same direction as the surrounding boards. Keep the drainage gap consistent on both sides. Sweep away sawdust and chips as you work, because wet debris can hold moisture against the wood and stain the surface.
Finish the repair
After the wood has dried to the finish manufacturer’s recommended moisture level, apply a compatible exterior stain or sealer. Work the end grain and exposed cut edges carefully. A small difference in color is normal because new wood absorbs finish differently from weathered decking. Blending the full board, rather than brushing only the repair, usually produces a more even result.
Inspect the repair after the next heavy rain. Water should drain through the board gaps instead of pooling around the fasteners. Recheck the surrounding joists and clear leaves from the deck before winter. A single-board repair can last for years when the replacement is supported, ventilated, and protected from repeated moisture.