
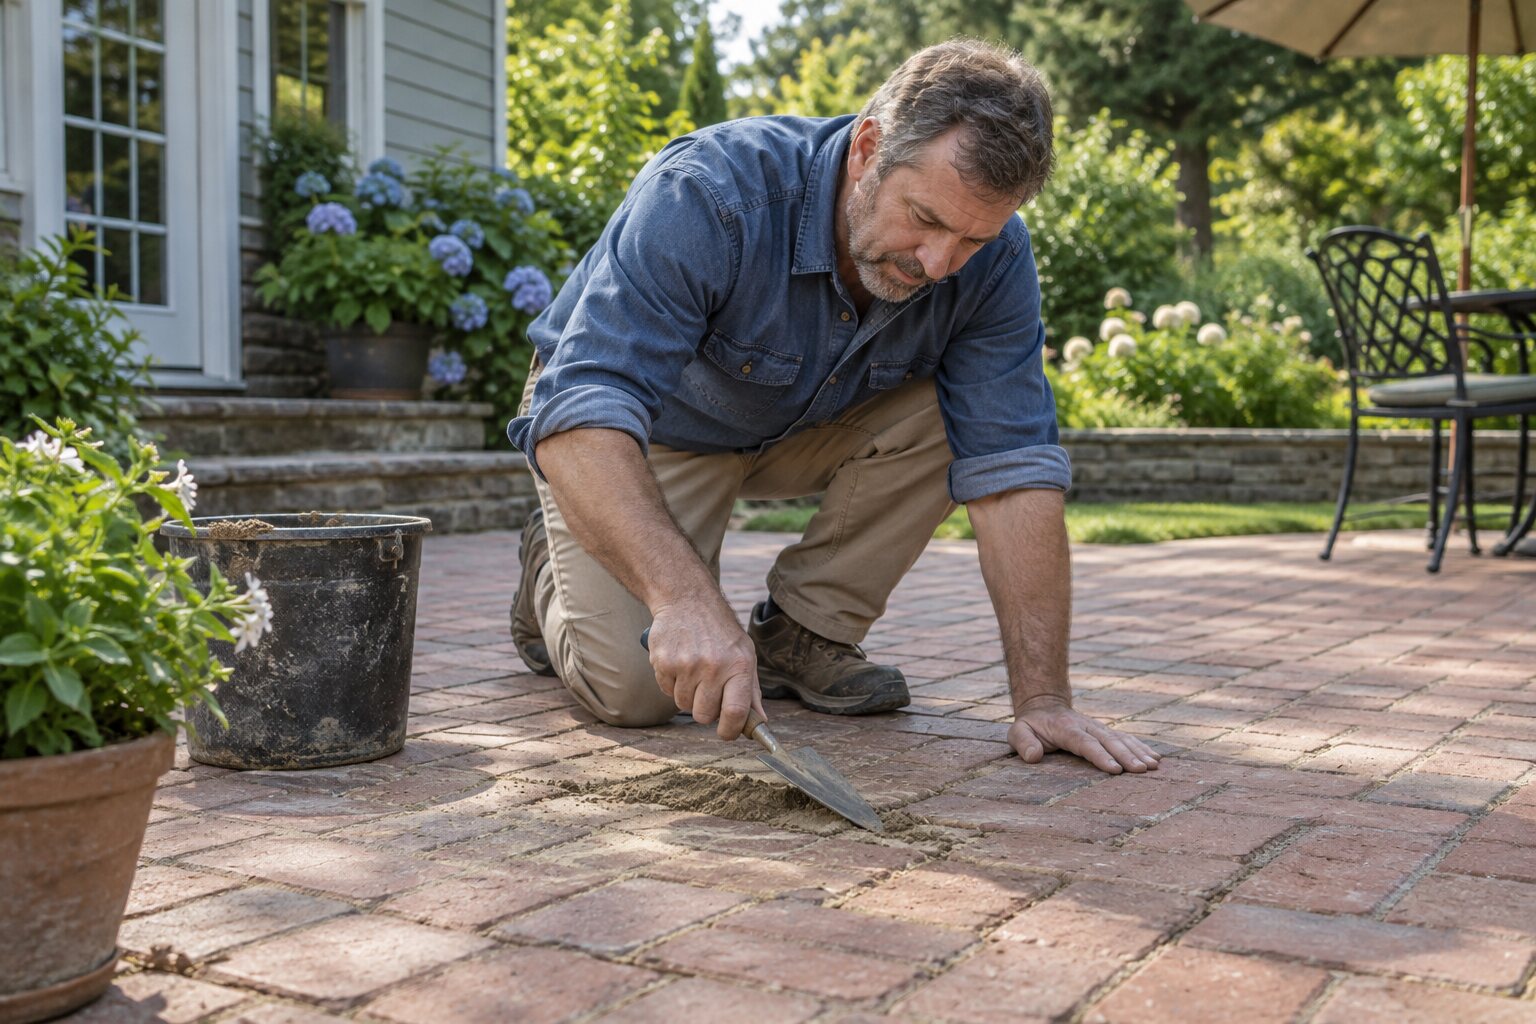
A narrow gap in a brick patio joint can begin as a cosmetic defect and become a place for weeds, water, and freeze-thaw damage. Small repairs last longer when the loose material is removed to sound material and the replacement joint is kept slightly below the brick faces so it is not scraped away by normal use.
Decide whether it is a joint repair
Inspect the surrounding bricks for rocking, settlement, or a widening crack that crosses the brick itself. A single shallow gap between stable bricks is a reasonable maintenance repair. A sunken area, spreading cracks, or bricks that move underfoot point to a base or drainage problem that should be corrected before repointing.
Prepare the joint
Choose a dry day. Sweep away grit, then use a narrow jointing tool or stiff hand brush to remove loose sand and failing mortar. Work carefully so the brick edges are not chipped. Vacuum the debris and brush the joint clean. If the repair material requires a damp surface, follow its instructions and avoid leaving standing water.
Fill and tool the repair
Use a compatible polymeric jointing sand or exterior masonry repair product selected for the patio construction. Pack it into the gap in small lifts and work it down with a narrow tool. Keep the material off the brick faces and tool the top slightly recessed. Follow the product’s water and curing directions precisely; too much water can wash material out of the joint.
Protect the finished area
Keep foot traffic, furniture, and pets away for the stated cure time. Sweep away residue before it hardens and inspect the joint after the first rain. Do not seal the patio merely to hide a failed joint. If water repeatedly collects at the repair or nearby bricks continue to settle, address the slope and base rather than repeating a surface patch.