
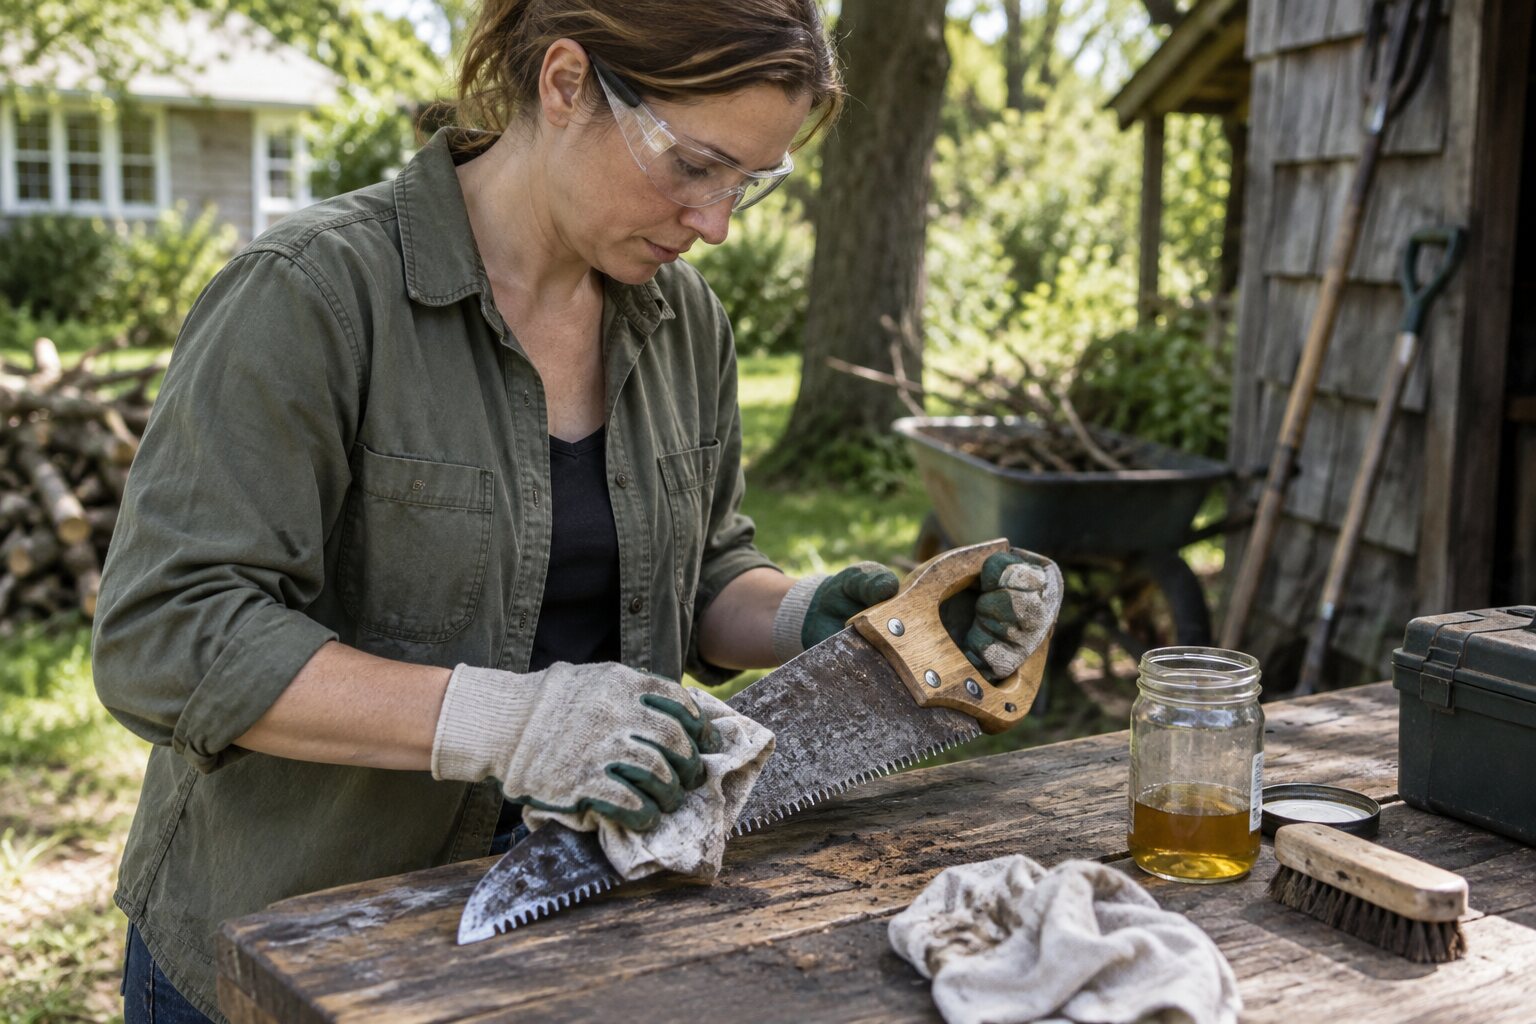
Sticky sap makes a garden saw drag, collect sawdust, and become harder to control. Cleaning the blade after pruning protects the cutting edge and makes the tool easier to inspect. The safest method separates sap removal from sharpening and keeps fingers away from the teeth throughout the job.
Make the saw safe to handle
Wear cut-resistant work gloves and work on a stable bench with the blade pointed away from your body. For a folding or powered saw, lock it closed or disconnect its power source according to the manufacturer’s instructions. Brush off loose debris with a stiff nylon brush rather than wiping across the teeth with your hand.
Soften the sap
Apply a small amount of manufacturer-approved citrus cleaner, mineral-oil-based tool cleaner, or another product listed for the blade’s finish to a cloth. Do not flood the handle, pivot, motor housing, or sealed bearings. Hold the cloth against sap deposits briefly, then wipe along the blade length, keeping the cloth moving away from the teeth when possible.
Clean and dry the teeth
Use a nylon detail brush to work around the gullets. A wooden stick can lift softened residue without scraping the metal. Avoid aggressive abrasives that change the tooth shape and avoid open flames or highly flammable solvents near sparks. Wipe the blade with a clean cloth and let it dry fully before applying a very light rust-protective film if the manufacturer permits it.
Finish with an inspection
Check for bent teeth, cracks, loose fasteners, and a blade that no longer tracks straight. Sap removal is not sharpening; use the correct file or have the blade serviced when cutting requires force. Store the saw dry with a guard or closed mechanism engaged. A quick wipe after each pruning session prevents the thick buildup that requires more handling later.