
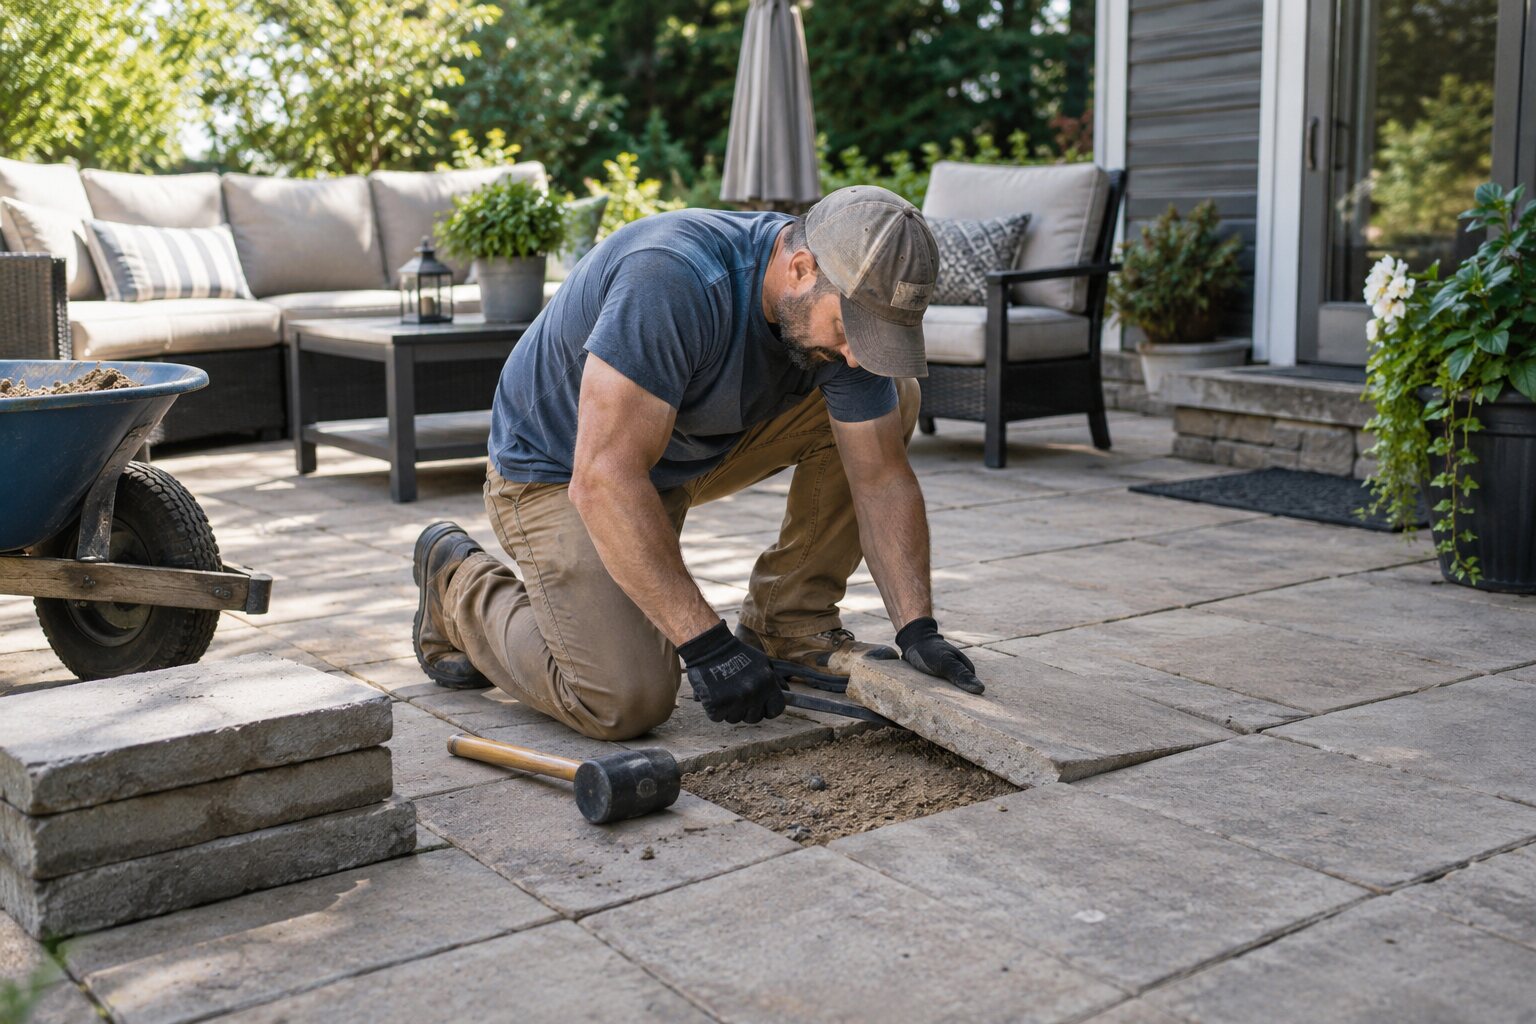
A cracked patio paver can become a trip point and may allow water to wash away the bedding beneath it. Replacing one unit is usually manageable when the surrounding pattern is documented and the base is repaired instead of simply covering the crack.
Document the pattern first
Photograph the patio and measure the paver before removing it. Note whether the unit is concrete, clay, or a manufactured stone and match its thickness as well as its color. Wear gloves and eye protection because broken edges can be sharp. Keep children and pets away from the work area.
Lift the damaged unit
Clear joint sand from all four sides with a narrow screwdriver or jointing tool. For a paver that is already broken, lift the pieces with a cold chisel and hand tools, directing force inward so neighboring pavers are not chipped. If the paver is intact, use two flat screwdrivers or paver pullers and work gradually rather than prying against the adjacent edges.
Repair the bedding
Remove loose sand and inspect the base. If water has hollowed out the area, add compatible compactable base material in thin layers and tamp each layer. Finish with a shallow layer of bedding sand that leaves the replacement flush with the surrounding surface. Do not use a thick soft layer to compensate for a weak base; it will settle again.
Set and finish the replacement
Lower the new paver straight down without dragging it across the neighbors. Tap it with a rubber mallet and a scrap board until it matches the height and slope of the patio. Sweep polymeric or joint sand into the gaps according to the product instructions, then remove surface residue before lightly activating it if required. Keep traffic off the area for the stated curing time.
After the first rain, check for standing water or a newly loose joint. A matching replacement is only a lasting repair when the drainage and compacted support beneath it are restored too.