
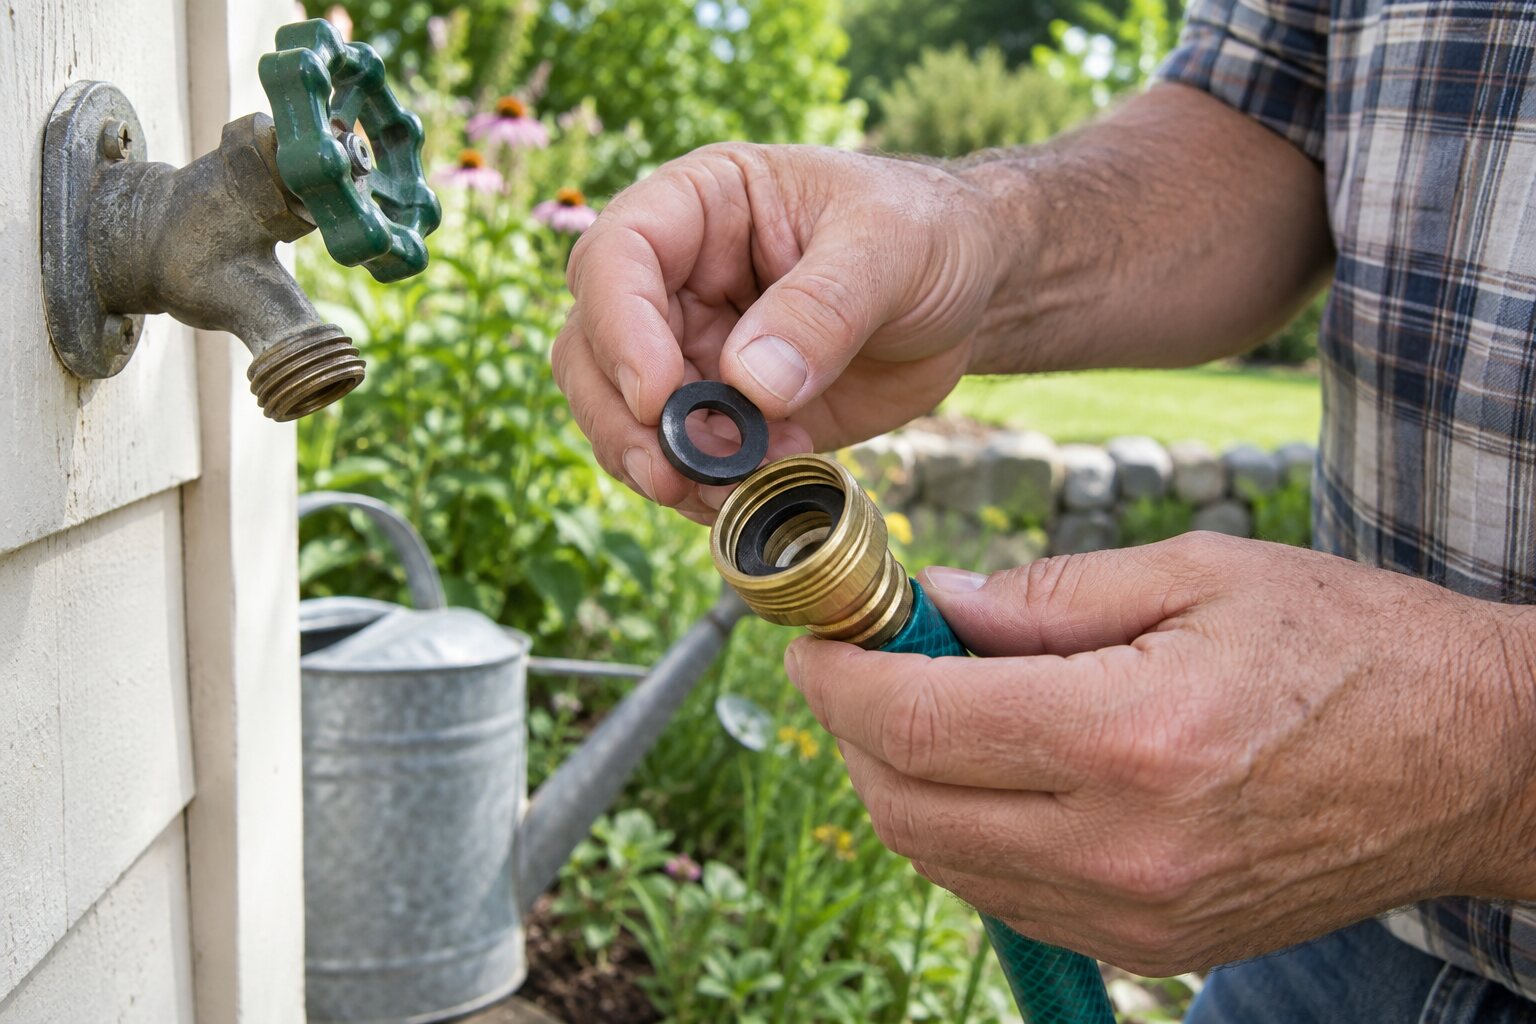
A hose connection that drips at the spigot often needs a new rubber washer rather than more tightening. Replacing the small washer protects the threads, reduces wasted water, and makes it easier to disconnect the hose at the end of the season.
Relieve pressure first
Close the spigot and squeeze the sprayer or open the downstream valve until pressure is gone. Unscrew the connector by hand and inspect the threads for grit or cross-threading. If the spigot itself is cracked or loose in the wall, stop and repair that condition.
Remove the old washer
Use a blunt pick or the edge of a plastic tool to lift the old rubber washer from the female connector. Avoid gouging the sealing surface. Compare the replacement washer with the old one so its diameter and thickness match the connector.
Clean and refit
Rinse grit from the connector and press the new washer flat into its recess. Start the connector by hand and tighten it only until snug. Pliers can crush the washer or damage the threads, so use them only when the fitting design specifically calls for it.
Test for a drip
Open the spigot slowly and watch the joint. If it still leaks, shut the water off and check that the washer is seated and the threads are clean. A leak that follows the hose or appears from the spigot stem is a different repair.