
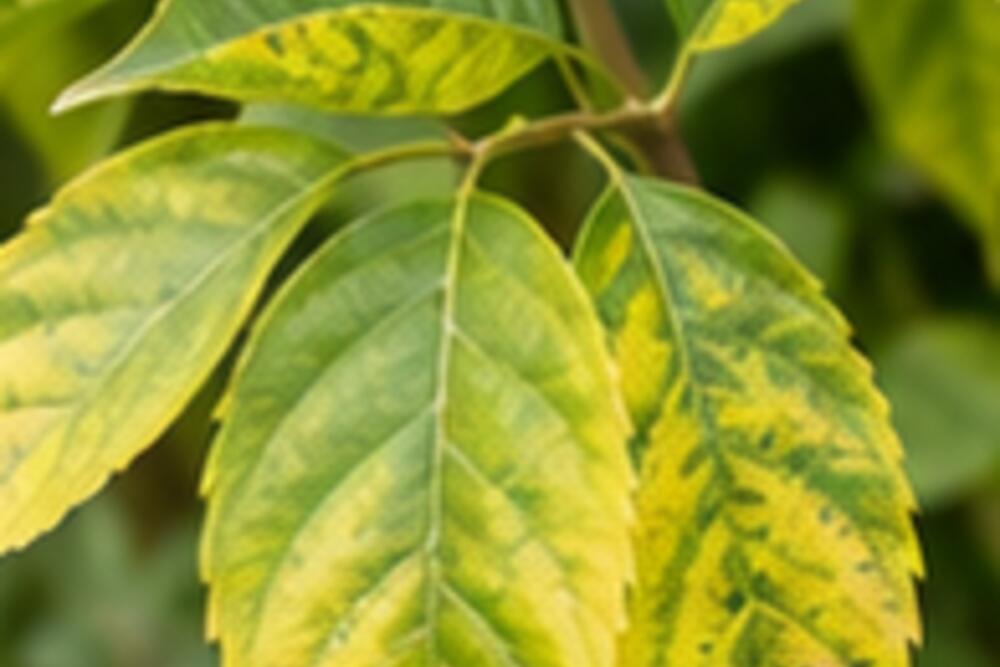
Yellow foliage can result from too much water, drought, root damage, nutrient limits, pests, disease, low light, cold, or normal aging. Fertilizer helps only some of these. Read the pattern before adding a product.
1. Which leaves yellow first?
Older lower leaves fading evenly can mean normal replacement or a mobile-nutrient shortage. Yellowing in the newest leaves can point to unavailable micronutrients, root-zone pH, or damaged roots. One shaded interior leaf matters less than the same pattern across many growing tips.
2. What pattern appears on each leaf?
Uniform pale color differs from green veins with yellow tissue between. Brown margins, bleached patches, defined spots, and fine stippling are separate clues. Photograph both sides of a typical leaf in natural light and compare progression over several days.
3. What is happening around the roots?
Check moisture below the surface. Constantly wet soil limits oxygen, while a dry root ball may repel water so irrigation runs around it. In containers, make sure drainage holes are open and the pot is not standing in collected water unless the species requires it.
4. What changed?
Consider transplanting, heat, cold nights, construction, herbicide drift, new watering, root disturbance, repotting, or different light. Symptoms starting soon after a change are often connected to it.
5. Are pests or disease signs present?
Inspect leaf undersides, stems, buds, and the boundary between healthy and damaged tissue for webbing, scale, insects, sticky residue, distorted growth, fungal structures, or lesions.
Decide before treating
Correct obvious water, drainage, or light problems and allow recovery time. Test soil when a persistent nutrient or pH issue is plausible, especially before applying lime or fertilizer. For a valuable tree, rapid spread, or possible chemical injury, contact a local extension service or qualified plant professional with photos and site history.
Why this small job matters
Yellow Leaves: A Five-Clue Diagnosis Before You Fertilize is the kind of task that is easy to postpone because the first symptom rarely feels urgent. In a lived-in Plant Problems routine, small changes add up: a little dust, a little moisture, or a little wear can make equipment work harder and can turn a ten-minute check into a weekend repair. The useful approach is to notice the change, write down what you see, and make one controlled adjustment at a time. That habit gives you a baseline for the next season and makes it easier to explain the situation if a specialist is needed.
What to look for as you work
Take a slow look before touching anything. Check for loose fasteners, unusual sounds, water marks, heat, damaged seals, or material that has changed color. Work in good light and keep the original parts, labels, and measurements nearby. If the result is not clearly better after the first safe step, stop and reassess rather than adding more force or more product. A short note about weather, age, and recent changes often reveals a pattern that is invisible in a single visit.
A practical follow-up routine
Finish by cleaning the work area and testing the result under normal conditions. Put the next inspection on a calendar, especially when the task depends on a season or a filter, seal, or moving part. Keep a simple home log with the date, what you changed, and a photo of the finished condition. That record turns maintenance into a calm routine instead of a reaction. When you find exposed wiring, structural damage, gas smells, persistent leaks, or anything that could injure someone, leave it alone and contact a qualified professional.