
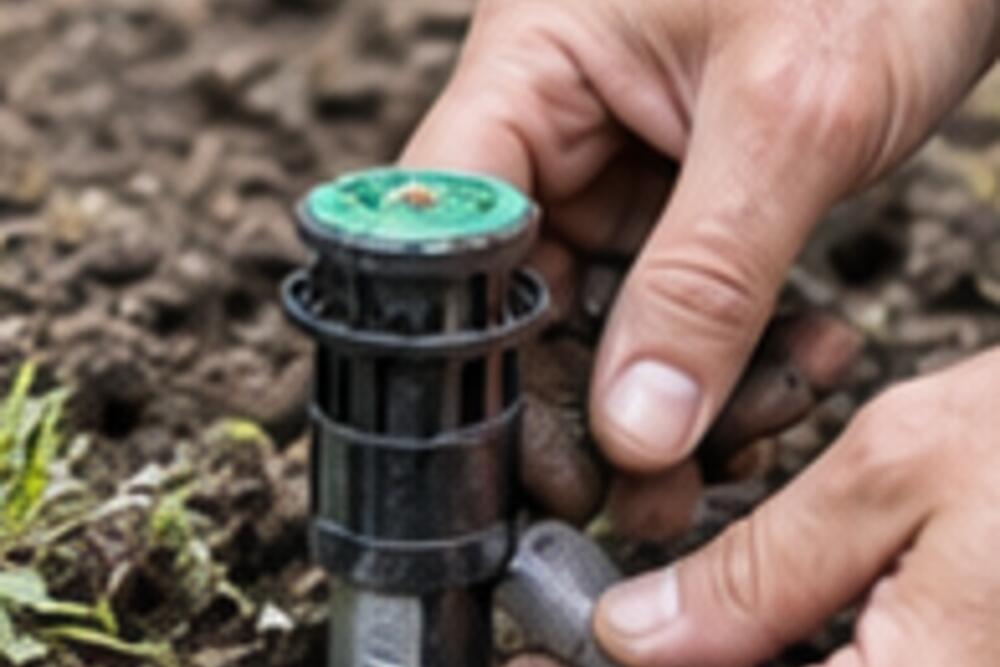
Weak flow at the end of a drip line can come from low source pressure, a clogged filter, an incorrect regulator, too many emitters, a leak, crushed tubing, or mineral buildup. Replacing emitters first is tempting, but a start-to-finish check finds system-wide causes faster.
Define the symptom
Compare the beginning and end of the same line. Determine whether all zones are weak, one zone is weak, or only several emitters are affected. Note whether the problem began suddenly or developed over a season. A sudden system-wide change points toward the source, valve, filter, or regulator; isolated slow emitters suggest local blockage or damage.
Confirm the water supply
Open the source fully and check for other fixtures using water at the same time. Make sure a timer valve has opened completely and its battery or power source is healthy. A rain barrel or gravity tank provides far less pressure than a household supply, so components must be designed for gravity operation.
Use a pressure gauge only at a connection intended for testing and stay within every component’s rating. Excess pressure is not a cure; it can separate fittings and damage emitters.
Clean the filter before adjusting anything
Turn off the water and release pressure according to the system instructions. Remove and clean the filter screen or disc assembly without losing seals. Algae, sand, pipe scale, and organic debris can reduce an entire zone’s flow. Reassemble in the correct direction and check for leaks.
Verify the regulator and valve direction
Pressure regulators and some valves have flow arrows. A reversed or mismatched regulator can perform poorly. Confirm that its pressure and flow range suits the emitters. A regulator sized for a large zone may not regulate correctly on a very small one, while a small unit can restrict a heavily expanded zone.
Walk the tubing while it runs
Look for spraying pinholes, separated fittings, wet spots, tight bends, crushed tubing, and sections pinched by roots, edging, furniture, or vehicles. Listen for escaping water. Repair with fittings made for the exact tubing size rather than tape intended for rigid plumbing threads.
Flush lines, then assess emitters
Open line ends and flush according to the system instructions until water runs clear. Close the ends and recheck. Clean or replace individual emitters only with methods approved for that type. Never mix chlorine, acid, or fertilizer treatments, and do not use chemical flushing without exact product and irrigation guidance.
Check zone capacity
Add the rated flow of all emitters and compare it with the source, valve, regulator, and tubing capacity. Long small-diameter runs and many added emitters create pressure loss. Splitting the area into shorter zones may be more reliable than raising pressure.
Related guides
- Measure irrigation output and soil penetration
- Separate water stress from other causes of yellow leaves
Why this small job matters
Drip Irrigation Has Low Pressure: A Start-to-Finish Troubleshooting Order is the kind of task that is easy to postpone because the first symptom rarely feels urgent. In a lived-in Watering & Irrigation routine, small changes add up: a little dust, a little moisture, or a little wear can make equipment work harder and can turn a ten-minute check into a weekend repair. The useful approach is to notice the change, write down what you see, and make one controlled adjustment at a time. That habit gives you a baseline for the next season and makes it easier to explain the situation if a specialist is needed.
What to look for as you work
Take a slow look before touching anything. Check for loose fasteners, unusual sounds, water marks, heat, damaged seals, or material that has changed color. Work in good light and keep the original parts, labels, and measurements nearby. If the result is not clearly better after the first safe step, stop and reassess rather than adding more force or more product. A short note about weather, age, and recent changes often reveals a pattern that is invisible in a single visit.
A practical follow-up routine
Finish by cleaning the work area and testing the result under normal conditions. Put the next inspection on a calendar, especially when the task depends on a season or a filter, seal, or moving part. Keep a simple home log with the date, what you changed, and a photo of the finished condition. That record turns maintenance into a calm routine instead of a reaction. When you find exposed wiring, structural damage, gas smells, persistent leaks, or anything that could injure someone, leave it alone and contact a qualified professional.